Common Issues with Windscreen Defrosters and How to Fix Them
22 November 2025 by Rueben Y.One of the essential components of your vehicle's heating system is the windscreen defroster, responsible for keeping your windscreen clear of fog and ice. However, like any other car part, defrosters can experience issues that can impact their effectiveness. Understanding the common problems and solutions associated with windscreen defrosters can help you maintain optimal visibility and safety while driving.

Understanding Windscreen Defrosters
They are designed to clear the windscreen of frost, ice, and condensation, ensuring visibility for the driver in cold or humid conditions. Most modern vehicles use electrical heating elements embedded in the windscreen to quickly and effectively defrost the glass. There are two main types of windscreen defrosters: front and rear. Front defrosters are located at the base of the windscreen, near the dashboard, while rear defrosters are usually integrated into the rear window. Both types work by generating heat to melt ice and frost, allowing for clear vision while driving. Proper maintenance and timely repairs are crucial to ensuring the effectiveness of your windscreen defrosters. By understanding how they work and knowing the signs of a faulty defroster, you can address issues early and prevent further damage.Signs of a Faulty Defroster
This could indicate a problem with the grid itself or a lack of power reaching the grid. Another sign is if only certain parts of the grid are working, leaving patches of fog or frost on the windshield. Additionally, if there is no airflow coming from the defroster vents when the system is turned on, this could be a sign of a faulty defroster. Lastly, if you notice a significant amount of time is needed for the defroster to clear the windshield, it may be a sign of a malfunctioning defroster grid or system.Troubleshooting Windscreen Defogging Problems
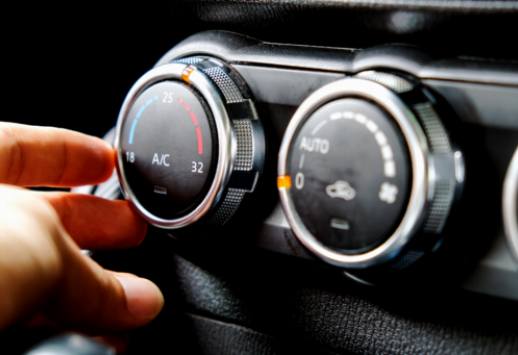
Here are some common troubleshooting steps to help identify and fix defogging problems:1. Check the settings: The first step is to make sure that the defroster is set to the correct temperature and fan speed. Sometimes, a simple adjustment of the settings can solve the issue.
2. Check for obstructions: Inspect the windscreen and defroster vents for any obstructions that could be blocking the airflow. Leaves, dirt, or debris can prevent the defroster from working effectively.
3. Test the blower motor: Turn on the defroster and check if you can hear the blower motor working. If the motor is not functioning, it may need to be replaced.
4. Inspect the defroster grid: Look closely at the defroster grid on the windscreen for any visible damage or breaks. If you notice any issues, you may need to repair or replace the grid.
5. Check the electrical connections: Ensure that the electrical connections to the defroster grid are secure and not damaged. Loose or corroded connections can prevent the defroster from working properly. By following these troubleshooting steps, you can pinpoint the cause of your windscreen defogging problems and determine the best course of action for fixing them. Remember to consult a professional if you are unsure or if the issue is complex.
Repairing a Broken Defroster Grid
1. Clean the grid: Before attempting any repairs, make sure to thoroughly clean the grid to remove any dirt, debris, or grime that may be causing the malfunction.2. Locate the break: Carefully inspect the grid to find the point where it is broken or damaged. This will help you determine the best course of action for repair.
3. Repair with a grid repair kit: There are specialized repair kits available that are designed specifically for fixing broken defroster grids. These kits typically include a conductive adhesive that can be used to reconnect the broken grid lines.
4. Use a soldering iron: If the break in the grid is severe, you may need to use a soldering iron to repair it. This method requires skill and precision, so it is recommended to seek professional help if you are not familiar with soldering techniques.
5. Test the defroster: Once you have completed the repairs, test the defroster to ensure that it is functioning properly. If the issue persists, you may need to seek the help of a professional mechanic to diagnose and fix the problem.